Once again the Digital Photography School has provided some inspiration. I read this post about light painting with a flashlight on a string and had to try it. I rang in the beginning of this year using some light painting, but I'd never tried putting a light on a string.
The setup was super simple. I hung a small LED flashlight from my bedroom fan using a string from an Apple Store bag. Aren't those bags great? So high quality, and you can even wear them as a backpack. I hear. I mean, I wouldn't. That'd be weird. I put my camera on a Gorillapod, which allowed me to basically have it on the floor, but steady. These bendy tripods are great to have around and can really save your butt sometimes.
The camera settings are definitely worth playing around with. I ended up shooting most of my images at f8, iso 100, and an exposure of 30 seconds. Keep your iso low since the flashlight will be plenty bright and you want the least amount of noise you can get. Also, play around with your white balance. The different colors in my images all come from changes in white balance. You can do this while you're shooting or, in the case of RAW images, in post processing as well. I did a bit of both.
Something he suggested in the tutorial was covering your lens with a piece of cardboard during the exposure, swinging the flashlight in a different direction, then uncovering your lens. I did just that (substituting a magazine for the cardboard) for a lot of my images and ended up with some cool results.
Also, if want a very symmetrical look, you need to have your camera right under the point where you're hanging the flashlight.
A'ight, here ya go.
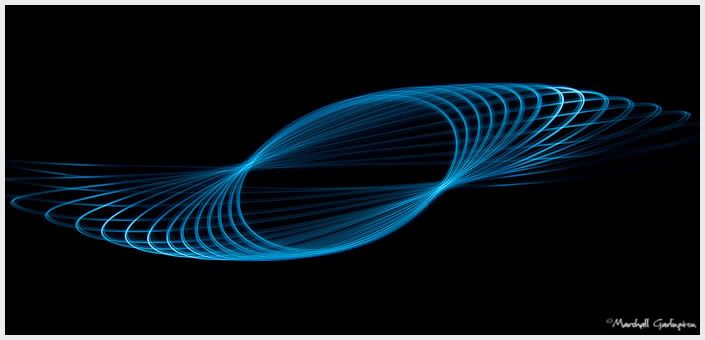
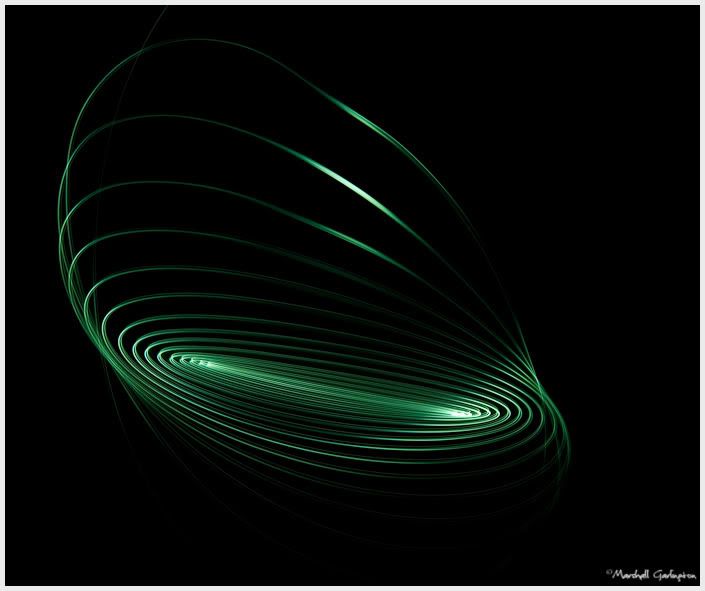
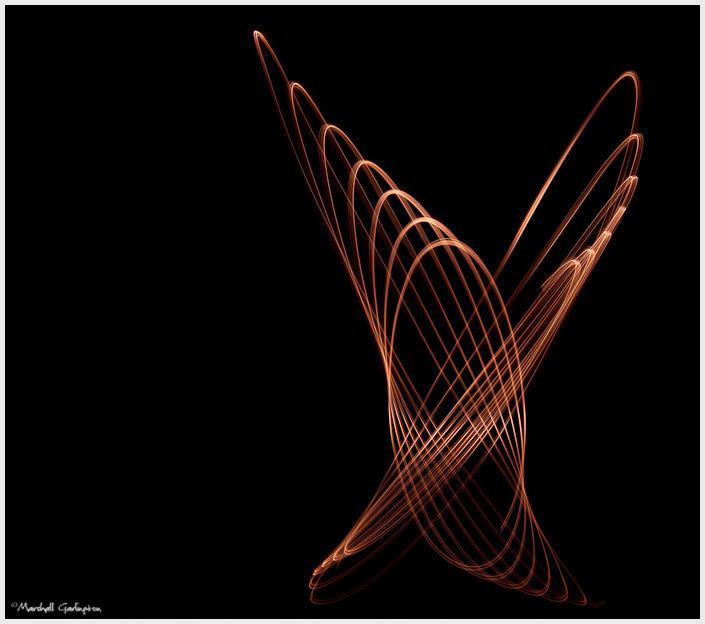
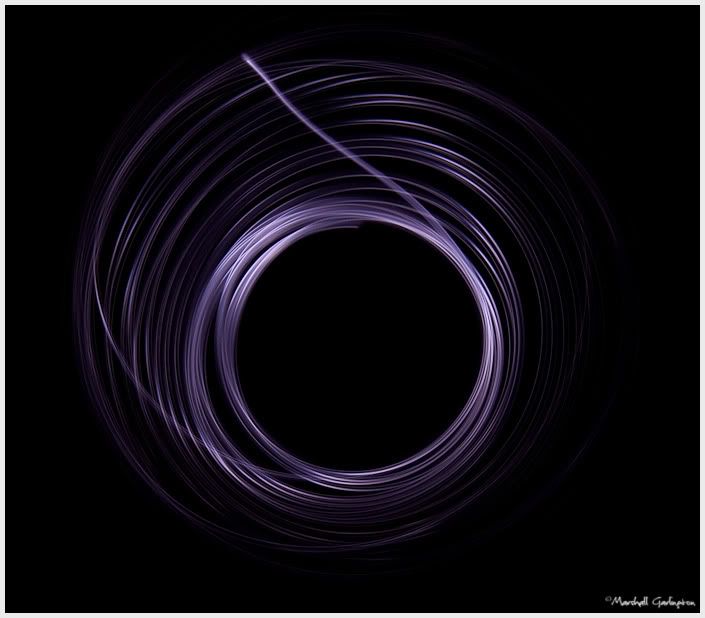

The technique is a great way to experiment and have some fun. It also introduces one of my favorite things into making images, the unexpected. Now go and have some fun in the dark! Wait...no...oh, you know what I mean.



1 comment:
That is very cool! Love your work!!!
Post a Comment