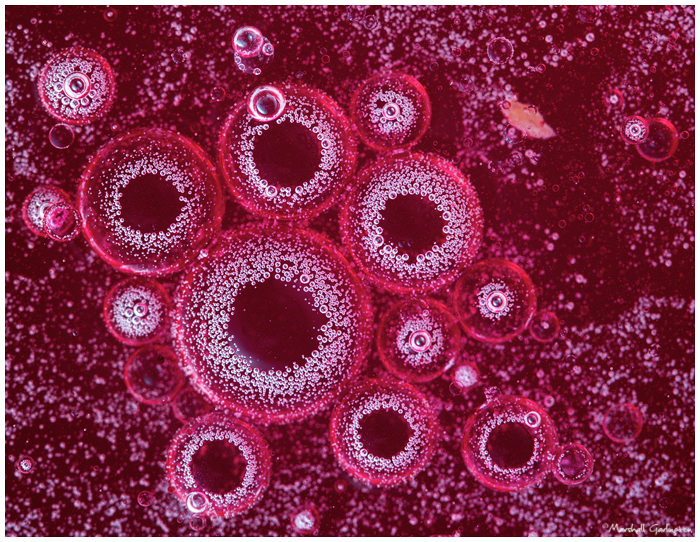
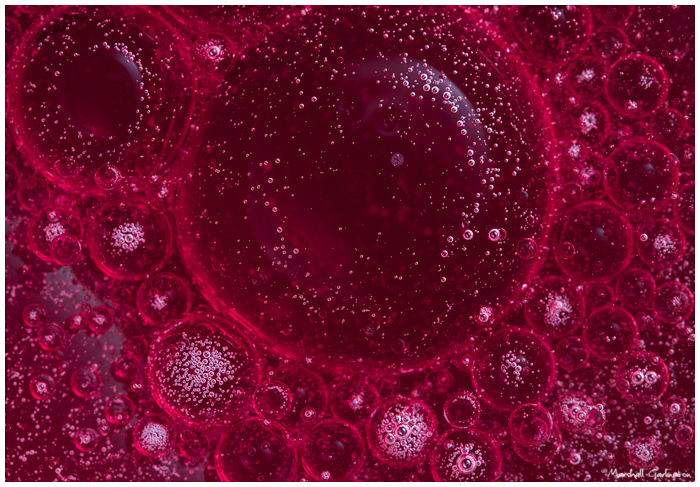
Howdy all! Brace yourself, I'm gonna post more than one pic today. Oh, and I'm gonna write a bit. I'll give you a second to compose yourself. K, here's the back story. I've seen some very cool macro images of oil in water and I wanted to give it a try. I've never seen a setup shot for these kinds of images, so I winged it. As far as the wet ingredients go, I used tap water and Pure Wesson Vegetable Oil. If you're worried about the amount of cholesterol in your images, this is the oil I recommend. On the hardware side, here's what I had going.

Use whatever you've got to make it happen. Except for the oatmeal bath, that's critical. ;) I forgot to point out the super expensive "pro" construction paper I used under the glass for a backdrop. I think it comes in a pack of 50.
I tried shooting with just the oil in water, but there wasn't enough contrast to make to oil drops stick out. Out came my secret weapon from my last water shoot. That's right, Crayola Bathtub Tints to the rescue! The red color, mixed with the green paper underneath produced a very cool color.
As with any setup like this, you gotta take a lot of shots. Things change very quickly, so just keep taking. Having a small aperture (bigger f-stop number) is important also to try and have as much in focus. At f8, I had the tops of the bubbles in focus, but not the bottom.
Here's my first shot after I dropped the Bathtub Tint in.

The color spread really quickly, so this is the only shot that had a transitional look with the color sweeping in. I changed the white balance on this one from Daylight to Tungsten to give it a more blue look. Why? Cuz I liked it.
Here's a couple of different looks I got by using my hi tech agitation device.


While I didn't get the exact shot I had in mind, it was a lot of fun experimenting and I can't wait to try again! If you've had an idea kicking around in your head for a while, make it happen!


2 comments:
Very cool set up!
These are fabulous. Love the crocs for the setup as well :)
Post a Comment