One of the many websites I follow in my feed reader is Digital Photography School. They consistently have great tips and tutorials for all kinds of photography. This past week they posted a tutorial on using textures to enhance your images. Click here to see the tutorial. One of the things that I don't know much about in Photoshop is blending modes. This tutorial encourages lots of experimentation with the different modes, so I thought it would be a perfect learning opportunity. And who knows, maybe a cool picture could come out of it!
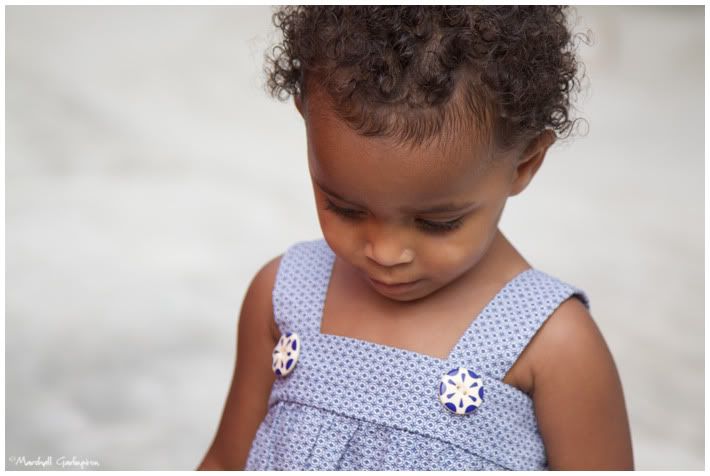
The first thing you need is an image to work on. I used a picture that I took last weekend at a baby shower. Here it is, straight out of the camera. (minus the border and signature, of course)
The second thing you need to do is find some textures. I went to Google and typed in "Texture" and then clicked on Images. I like easy. I found that there are tons of free, high quality textures out there both individually and in packs. I downloaded a few and made a folder on my desktop called Textures (cuz I'm creative) to keep them in. Here are the two I used.
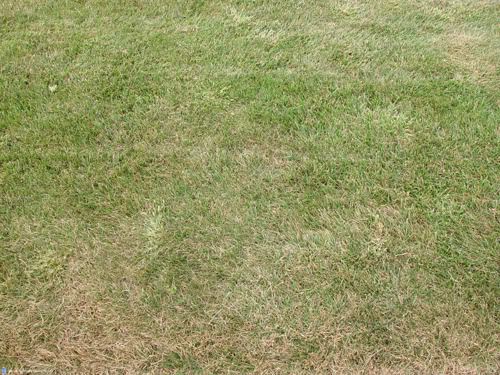
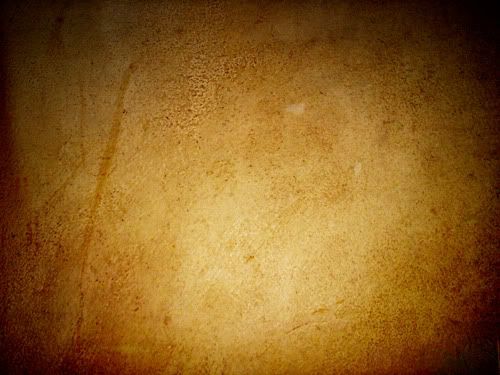
Grass and a strange leathery, kid spilled something on it kinda thing? Stay with me. I've scaled them down for the purposes of this post, but the originals are quite big. This is good because you'll probably want to cover most, if not all of your original image. If the texture started out small, stretching over your image would make it very pixelated. And hey, maybe that's the look you're going for, but just be aware.
I think the tutorial does a great job of walking you through the basic process, so I won't duplicate that here. The great thing is, there's not right or wrong way with this process. I tried almost every blending mode on each texture, and even copied the original layer and tried blending that with itself. I converted the original layer to black and white, and I liked that feel better. In the end I tossed out the copy of the original layer and went with just the two textures. On the leathery type texture I used an Overlay mode at 60% opacity. On the grass texture I used Soft Light blending at 57% opacity. Why did I use two textures instead of one? Because I liked it better. Here's a screen shot of my layers palette.
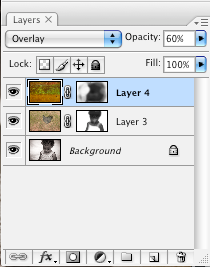
You can see that I also used a fair bit of masking to keep most of the textures off of her face and hair. This was just an aesthetic choice because I liked the original look and feel of those things. Alright, alright, here's the final image.
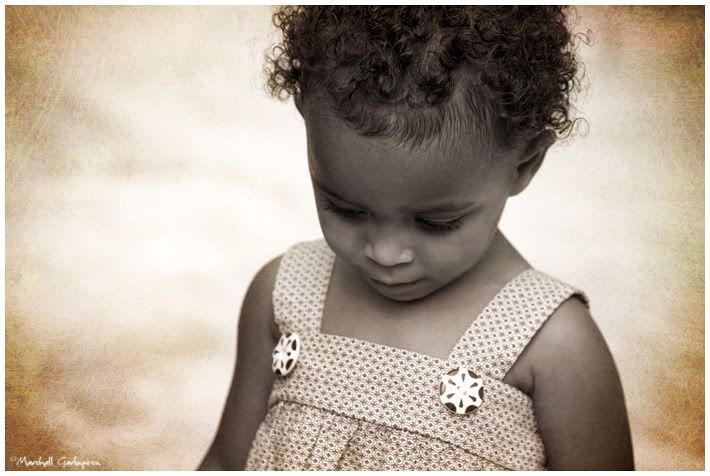
A bit more interesting than the original, no? I think this is a very cool way to add something extra to your images, and you might learn a thing or two along the way! It's certainly not for every image, and it would be very easy to get carried away. Definitely worth having a go at, though and seeing what comes out.




4 comments:
Such a beautiful photo, such a beautiful subject!
such a gorgeous little girl!! I love your quiet, candid capture of her.
Textures intimidate the snot out of me. I LOVE them on others' images; I've never made one of my own that I love. It's one of those things I spend too much time on, and at the end say "blech" and start from scratch.
Great job and thanks for the little "tutorial". I've not had much success at this yet, myself...but it's coming ;D
This is beautiful, great work.
I think my attmepts at textures have been featured on "photoshop nightmares" lol.
B Dad
Post a Comment