Friday, July 31, 2009

Using textures

One of the many websites I follow in my feed reader is Digital Photography School. They consistently have great tips and tutorials for all kinds of photography. This past week they posted a tutorial on using textures to enhance your images. Click here to see the tutorial. One of the things that I don't know much about in Photoshop is blending modes. This tutorial encourages lots of experimentation with the different modes, so I thought it would be a perfect learning opportunity. And who knows, maybe a cool picture could come out of it!

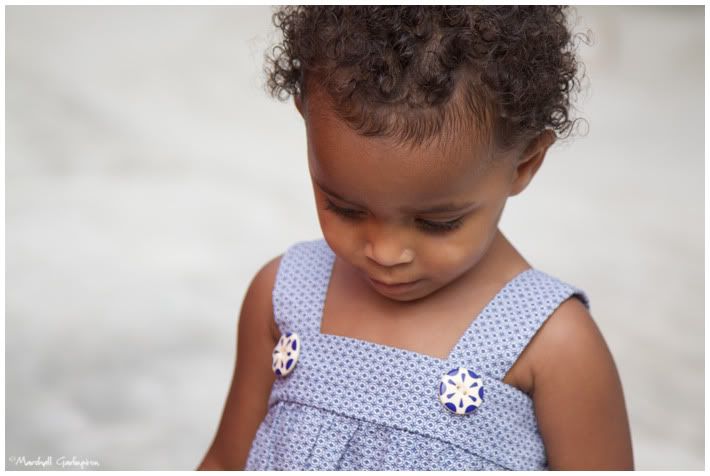
The first thing you need is an image to work on. I used a picture that I took last weekend at a baby shower. Here it is, straight out of the camera. (minus the border and signature, of course)
Photobucket

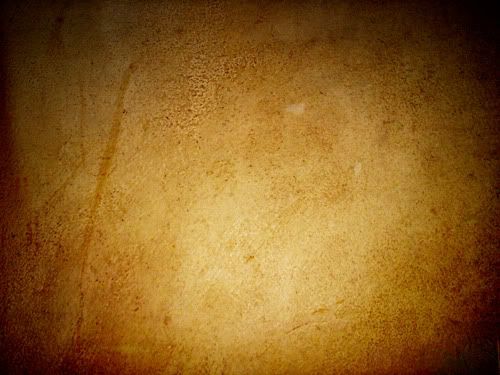
The second thing you need to do is find some textures. I went to Google and typed in "Texture" and then clicked on Images. I like easy. I found that there are tons of free, high quality textures out there both individually and in packs. I downloaded a few and made a folder on my desktop called Textures (cuz I'm creative) to keep them in. Here are the two I used.

Photobucket

Photobucket

Grass and a strange leathery, kid spilled something on it kinda thing? Stay with me. I've scaled them down for the purposes of this post, but the originals are quite big. This is good because you'll probably want to cover most, if not all of your original image. If the texture started out small, stretching over your image would make it very pixelated. And hey, maybe that's the look you're going for, but just be aware.

I think the tutorial does a great job of walking you through the basic process, so I won't duplicate that here. The great thing is, there's not right or wrong way with this process. I tried almost every blending mode on each texture, and even copied the original layer and tried blending that with itself. I converted the original layer to black and white, and I liked that feel better. In the end I tossed out the copy of the original layer and went with just the two textures. On the leathery type texture I used an Overlay mode at 60% opacity. On the grass texture I used Soft Light blending at 57% opacity. Why did I use two textures instead of one? Because I liked it better. Here's a screen shot of my layers palette.

Photobucket

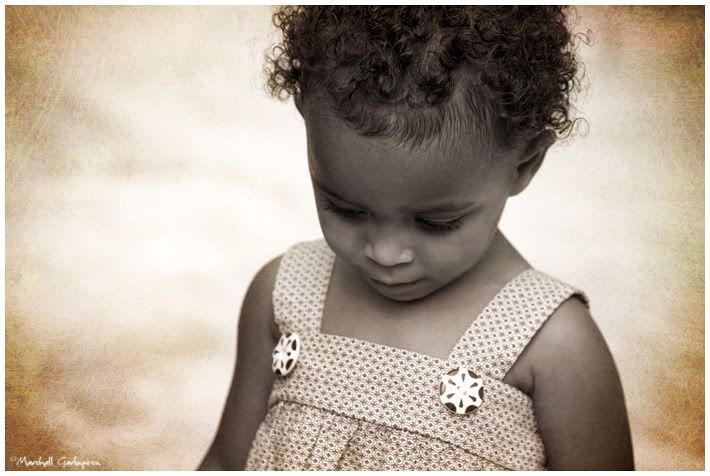
You can see that I also used a fair bit of masking to keep most of the textures off of her face and hair. This was just an aesthetic choice because I liked the original look and feel of those things. Alright, alright, here's the final image.
Photobucket

A bit more interesting than the original, no? I think this is a very cool way to add something extra to your images, and you might learn a thing or two along the way! It's certainly not for every image, and it would be very easy to get carried away. Definitely worth having a go at, though and seeing what comes out.


Tuesday, July 28, 2009

Outside my front door

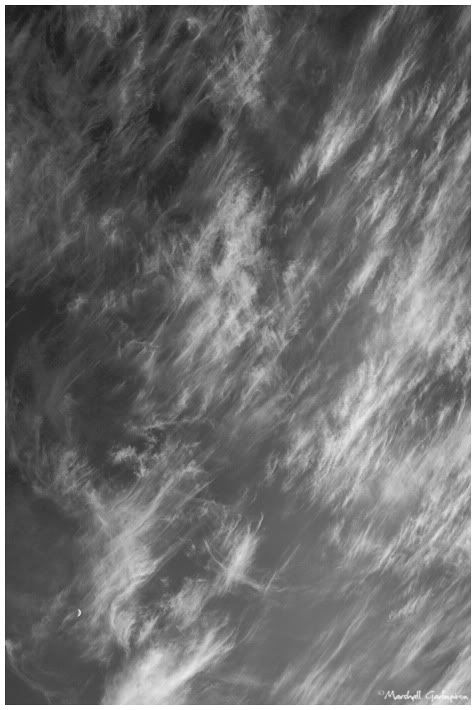
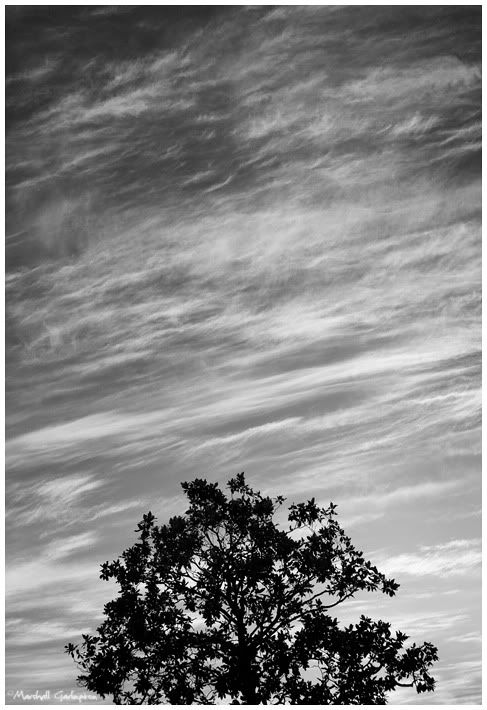
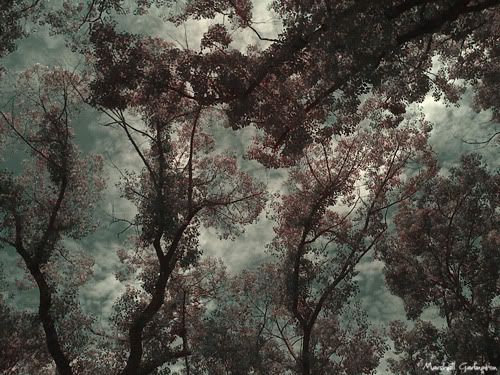
We don't get a lot of clouds around here this time of year. When these blew in late yesterday afternoon I had to do some photographin'. It's nice when the best view happens to be right outside your front door.

Photobucket

Photobucket

Monday, July 27, 2009

Symphonic HDR

I recently discovered Trey Ratcliff's Stuck In Customs blog. Not only is he an excellent photographer, but he's a hilarious writer too. His main focus is HDR, or High Dynamic Range images. This involves taking multiple exposures of the same scene to capture all the detail from the darkest shadows to the brightest highlights. You then have combine these later to blend all of that information together. Trey has a great tutorial on his blog about his process.

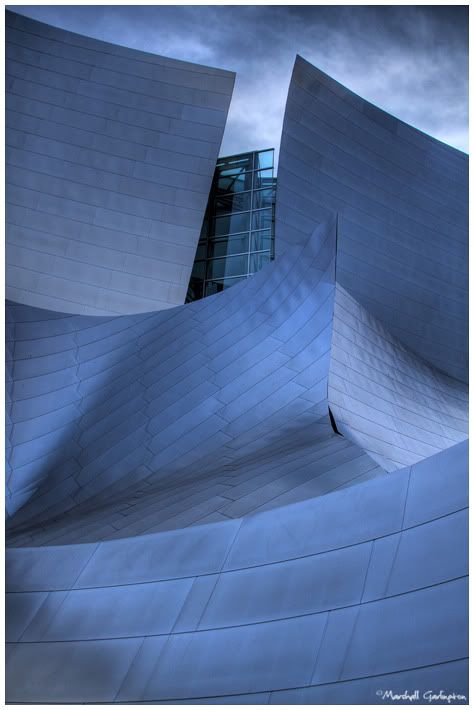
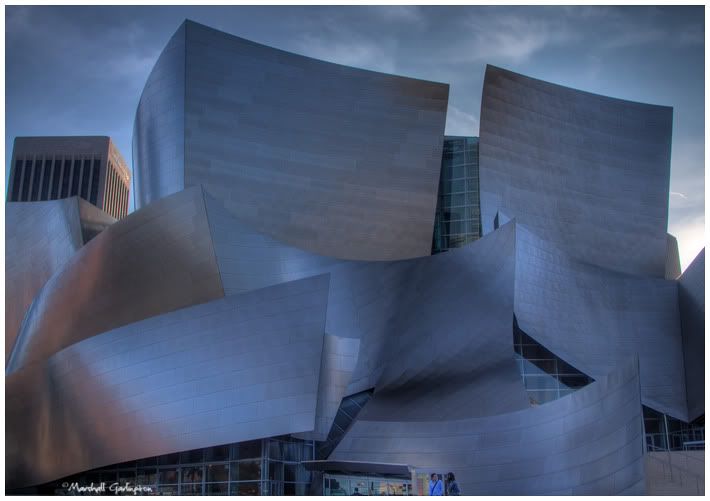
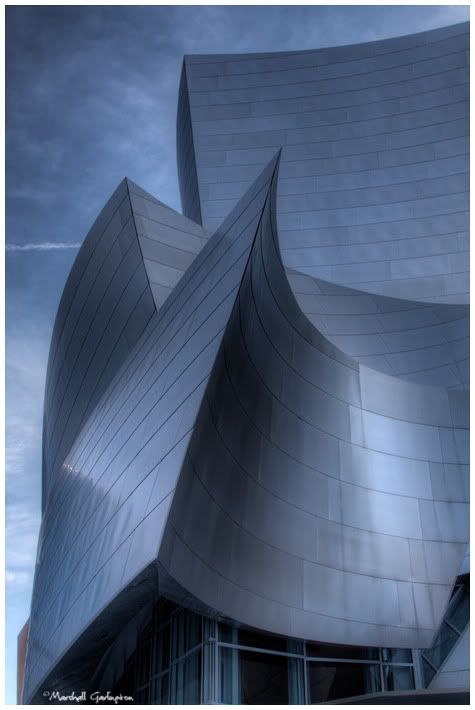
After reading the tutorial, and looking at his images, I was inspired to do some HDR work myself. When I was down at the Disney Concert Hall a few months back I took some multiple exposure images with HDR in mind. Following Trey's excellent instructions, with a few little tweaks of my own, here are the results.

Photobucket

Photobucket

Photobucket

Friday, July 24, 2009

Fix-It Friday + Bonus

It's Fix-Friday time again. Head over to I Heart Faces to check out my and others takes on improving an image.

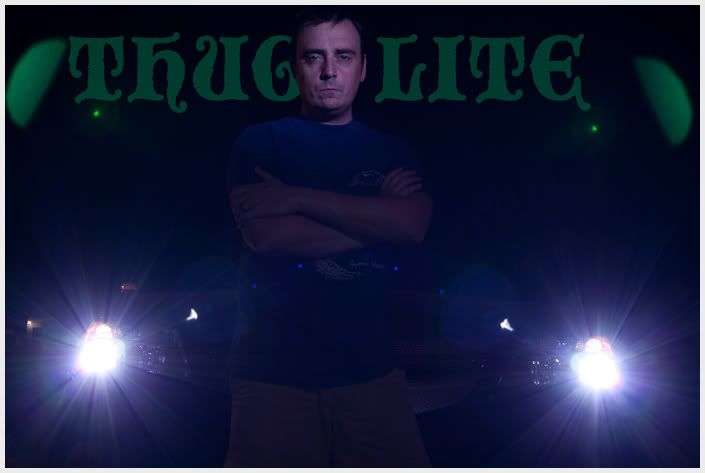
As an extra special bonus I've included an image that I made last night. Oh yes, I'm urban. And hardcore, or something.

Photobucket


Have a great weekend and check back on Monday for some HDR fun.

Wednesday, July 22, 2009

DFW Sunset

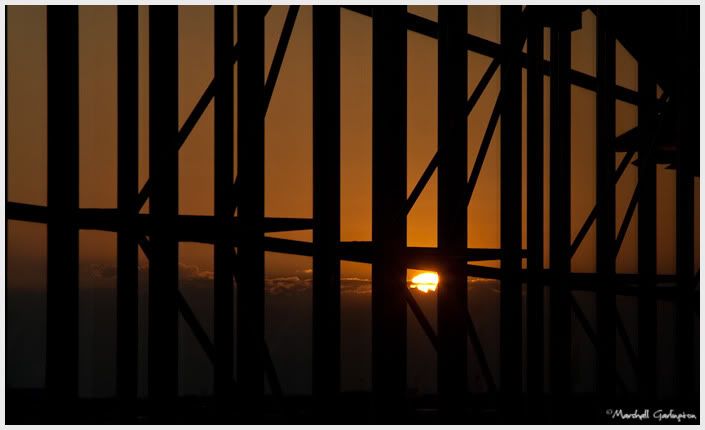
Taken on my way home from Louisiana to California.

Photobucket

Tuesday, July 21, 2009

Lighting

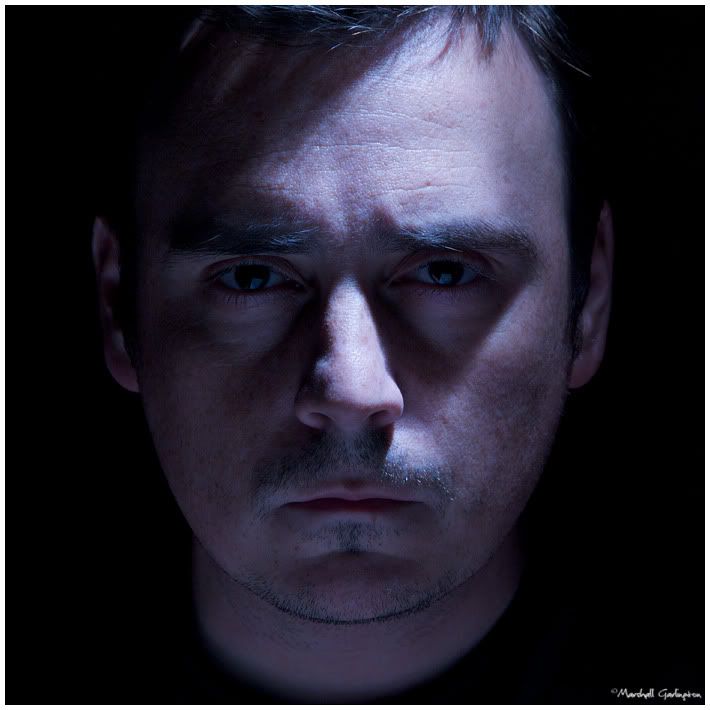
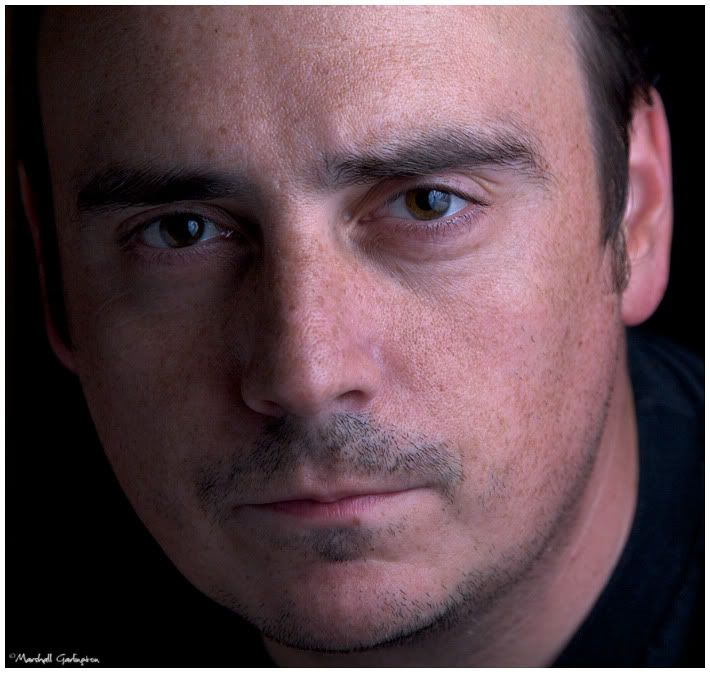
I've been having a lot of fun with my new lighting gear. I thought I'd show a couple of examples of what I've been playing around with. In these two shots I was trying to create different moods by working with light placement, light shaping tools and color. Oh, you'll have to forgive the model. This was kinda last minute and he's all I could get. And he was cheap. ;)

In this first shot, I wanted a moody, kinda harsh light. I put the flash above my head and put a snoot on it. You all remember snoots right? This gave me a fairly narrow beam of light to rake across my face. I had to experiment quite a bit to get it in the right place. Consistency was slightly hampered by the fact that I had to start the timer on the camera and run to get into position every time. Hey, I suffer for my art. Or something. Anyway, after I got the light coming down the way I wanted, the left side of my face was too dark. I needed to fill that side with some light. I only have one flash, so I needed to use something to bounce some of the light from the flash back into the dark places. I placed a 2'x 4' piece of white foamcore that I got from a craft store about two feet from my face and angled up to bounce some light. I also set my white balance to Tungsten to give it a colder feel.

Photobucket


For the next image, I wanted a much warmer and more open look. I changed from the straight flash to a shoot through umbrella. I put the umbrella as close to my face as I could without being in the frame. One of the many things I've learned from reading Joe McNally's books about using flashes is, the closer and larger the light source, the softer the light will be. Using an umbrella in this close gives a very soft, wrap around kind of light. I again used the white foamcore to bounce a little light back onto the left side of my face. I used a Daylight white balance here for a warmer feel.

Photobucket


Sorry, no setup shots this time. I know, I know. It was late and I was being lazy. Oh, I almost forgot. I also taped up (love that painters tape) a black piece of foamcore on the wall behind me to make sure that it would be a solid color. Love to hear what you guys think.

Monday, July 20, 2009

Laguna Beach Photowalk

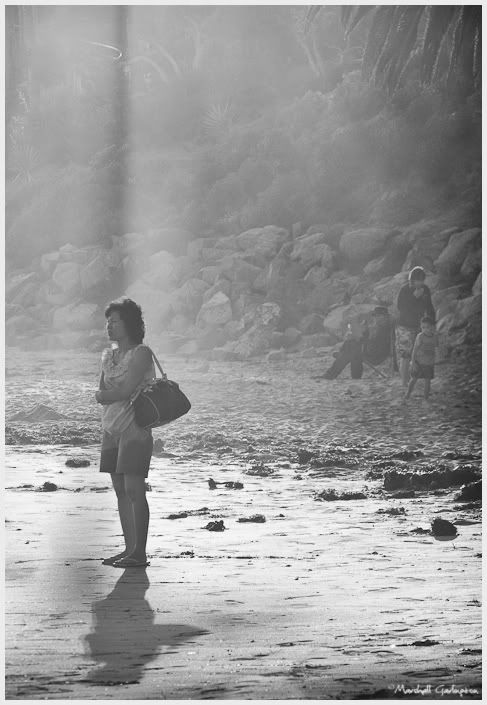
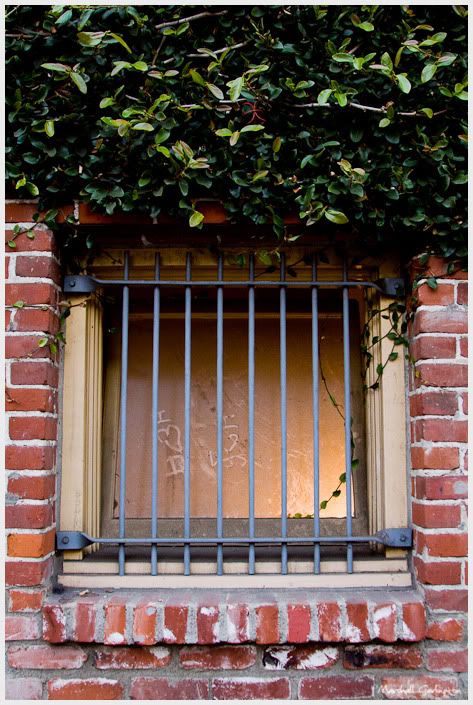
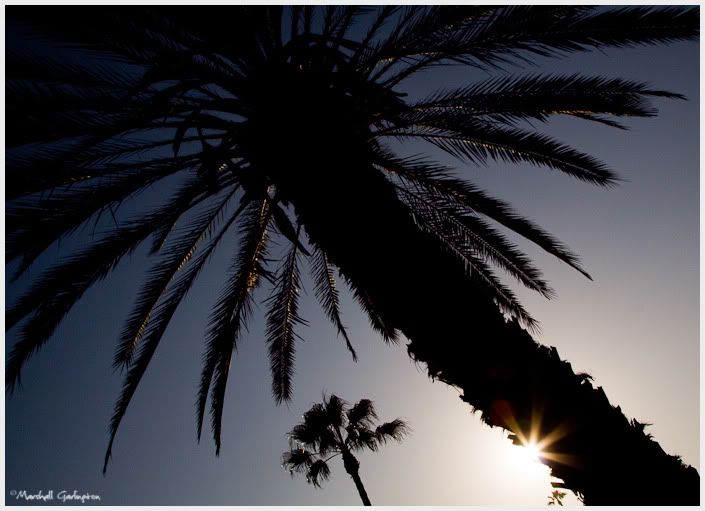
On Saturday I drove down to Laguna Beach to participate in the second annual Scott Kelby Worldwide Photowalk. Scott Kelby is a prolific writer of books about Photoshop and Digital Photography. He started the Photowalks last year as a way to get photographers together to take pictures and share ideas. I'd never done a walk like this before, so I didn't know quite what to expect. Well, I had an absolute blast. It was so cool to walk around with fellow photographers and see what they were seeing and talk about the how's and why's of taking pictures. Basically geeking out. Good times. After the success of the last two years (5,000 people the first year 30,000 this year), I'm sure that it will only grow. I highly recommend checking it out. It's free, and the chance to interact with and shoot alongside other photographers is time well spent.
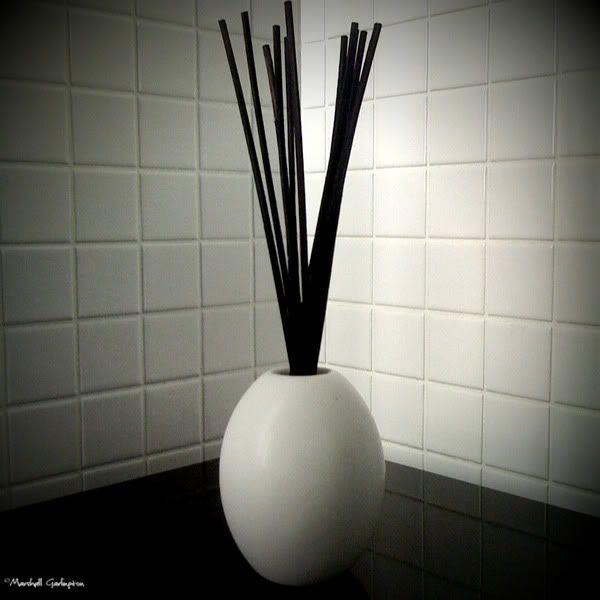
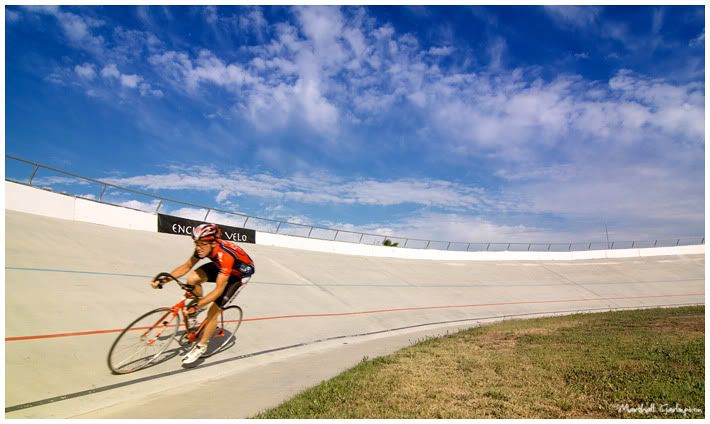
Here's a few shots from the day.

Photobucket


Photobucket


Photobucket


Photobucket


Photobucket


Photobucket

Thursday, July 16, 2009

Maximum cuteness achieved

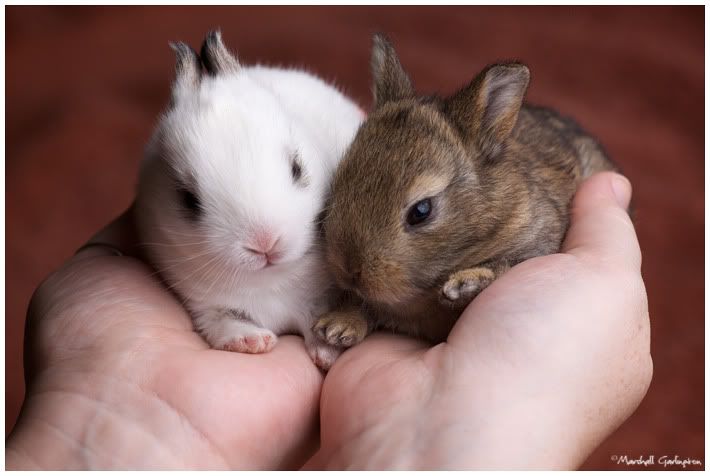
I decided to take my new lighting setup and try it out on our 11 day old bunnies. Dontcha just wanna eat 'em up! Not literally, of course, cuz they're too cute. I mean, that's kinda the point, the cuteness. So, don't whip out those rabbit recipes too quickly. Just bask in the unadulterated fluffy softness.

Photobucket

Wednesday, July 15, 2009

iPhone #5 - Tapestry

The best camera is the one you have with you.

Photobucket

Sunday, July 12, 2009

Supermodel

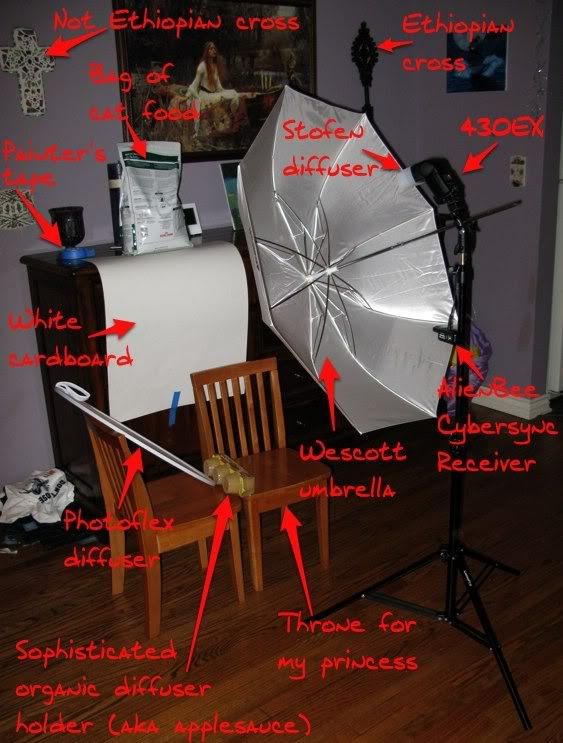
A couple of weeks ago I ordered the Strobist Starving Student kit from Midwest Photo, and I just got around to really trying it out this weekend. I set up my "studio" in the dining room and put my baby girl in the chair. She is such a natural in front of the camera and loves seeing herself after wards. And with a face like this, who can blame her.

Photobucket

I had a great time shooting with my new gear, and most importantly, I learned a lot. Here's my high-end pro studio setup.

Photobucket

Thursday, July 9, 2009

Remembering

A few weeks ago when I flew to Louisiana to visit my grandmother in the hospital, I took some time during the trip to also visit her house. This is the house she's lived in since the late 1930's and the house I spent quite a lot of time in while I was growing up. I wanted to take some pictures of things that were meaningful to me so I would have a way of looking back at them. This old mechanical scale was one of those things. I remember hopping up on it every chance I got. I never cared how much I weighed, I just liked the feel of it and seeing that pointer swing around.

Photobucket

Tuesday, July 7, 2009

iPhone #4

Photobucket

Sunday, July 5, 2009

Velodrome

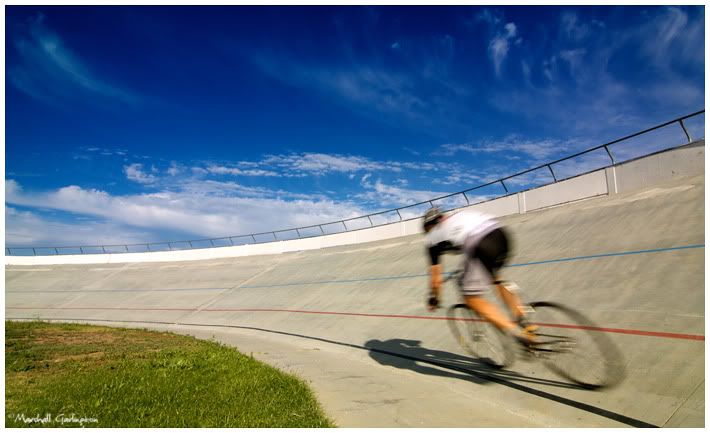
I dropped by the Encino Velodrome the other day on the off chance that someone would be there. And lo and behold, the Encino Velo team was practicing. They were very open to having me walk around and take some pictures. I'd never shot any kind of sports before so this was unknown territory. I'll list a few of the things I learned. 1 - shooting bikes is pretty cool! 2 - the closer you get to the action, the more dramatic the shot. 3 - always be aware of what's going on around you. 4 - talk with folks before you start taking their picture. And lastly, I learned that my sensor's really dirty when I crank down the aperture.

Here's a couple of shots from the day.

Photobucket

Photobucket

Friday, July 3, 2009

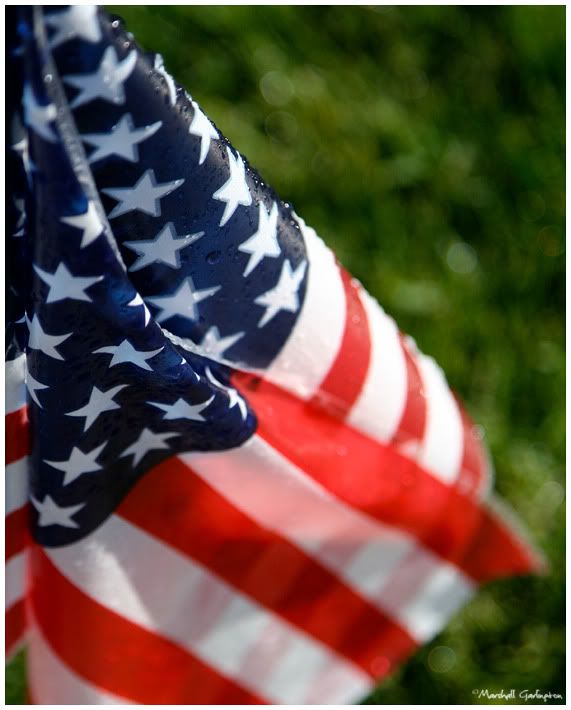
Happy 4th!

I hope everyone has a happy and safe 4th of July.

Photobucket>